Kilimanjaro's Most
Scenic & Successful Route
The Lemosho Route is widely regarded as the finest way to climb Kilimanjaro — and with good reason. Beginning at the remote Londorossi Gate on the western slopes, it traverses the stunning, otherworldly Shira Plateau before joining the Southern Circuit and approaching the summit from multiple angles. This long, gradual approach gives your body the acclimatization time it needs to perform at 5,895m.
From Londorossi Gate, the trail climbs through pristine montane rainforest to Shira Ridge, then crosses the vast high-altitude Shira Plateau. It then descends to the iconic Lava Tower before sweeping around the mountain's southern flank through the Barranco, Karanga, and Barafu camps — culminating in a midnight summit push to Uhuru Peak via the Southeastern Crater Rim. Descent follows the Mweka Route.
"Lemosho is the route I'd choose for myself and my own family. The western approach, the plateau, the Barranco Wall — it gives you everything Kilimanjaro has to offer. The summit rate speaks for itself."
— Mr. Chacha, Founder & Lead Guide, Africa Endless CruisingFive Worlds on
One Trail
Lemosho's signature "high-low-high" profile — ascending to Lava Tower at 4,600m then descending to Barranco at 3,900m — is the single greatest acclimatization advantage of any Kilimanjaro route. This deliberate altitude gain and sleep-low rhythm dramatically boosts summit success rates to the highest of all routes.
Choose Your Adventure
We offer two itinerary options. The 8-day route is our most recommended choice — the longest acclimatization profile available on Kilimanjaro, delivering the highest summit success rates on the mountain. The 7-day route is an excellent option for trekkers with solid high-altitude experience.
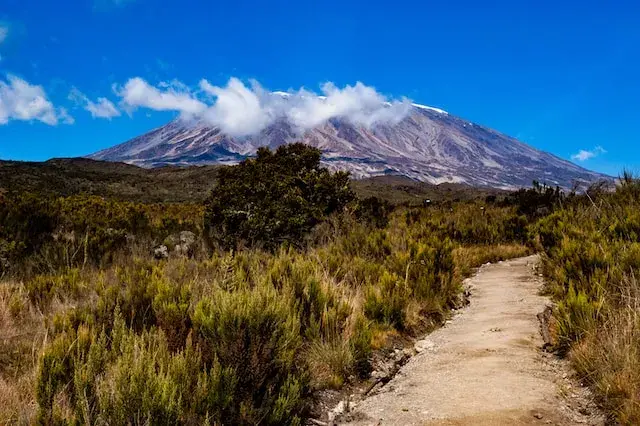
Day 1 is built around the next Kilimanjaro route stage, with a steady mountain rhythm that prioritizes safety, acclimatization, and enjoyment of the changing Kilimanjaro landscape. Your guide sets a deliberate pace, checks how everyone is adapting to altitude, and explains the vegetation zones, weather shifts, and trail conditions as they unfold. The route may move through rainforest, heath, moorland, alpine desert, or summit terrain, each offering different views, plant life, photography opportunities, and moments of quiet achievement. Porters and camp crew move ahead to prepare meals, drinking water, and the overnight area, allowing you to focus on walking well and conserving energy. Expect warm trail meals, regular hydration stops, and practical guidance on layering, breathing, and rest. By the end of the day, you arrive at camp or hut with a clear briefing for tomorrow and a stronger sense of the mountain's scale.
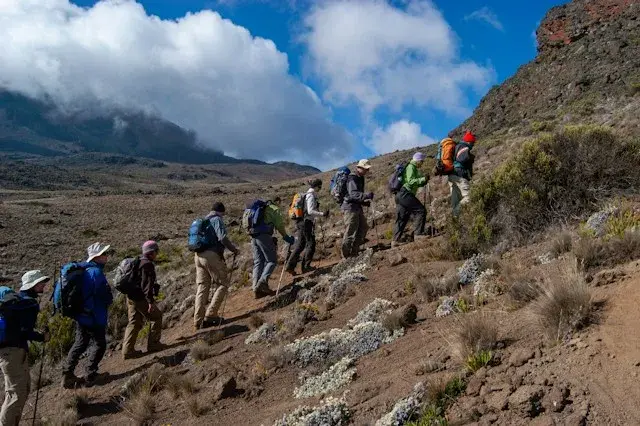
Day 2 is built around the next Kilimanjaro route stage, with a steady mountain rhythm that prioritizes safety, acclimatization, and enjoyment of the changing Kilimanjaro landscape. Your guide sets a deliberate pace, checks how everyone is adapting to altitude, and explains the vegetation zones, weather shifts, and trail conditions as they unfold. The route may move through rainforest, heath, moorland, alpine desert, or summit terrain, each offering different views, plant life, photography opportunities, and moments of quiet achievement. Porters and camp crew move ahead to prepare meals, drinking water, and the overnight area, allowing you to focus on walking well and conserving energy. Expect warm trail meals, regular hydration stops, and practical guidance on layering, breathing, and rest. By the end of the day, you arrive at camp or hut with a clear briefing for tomorrow and a stronger sense of the mountain's scale.
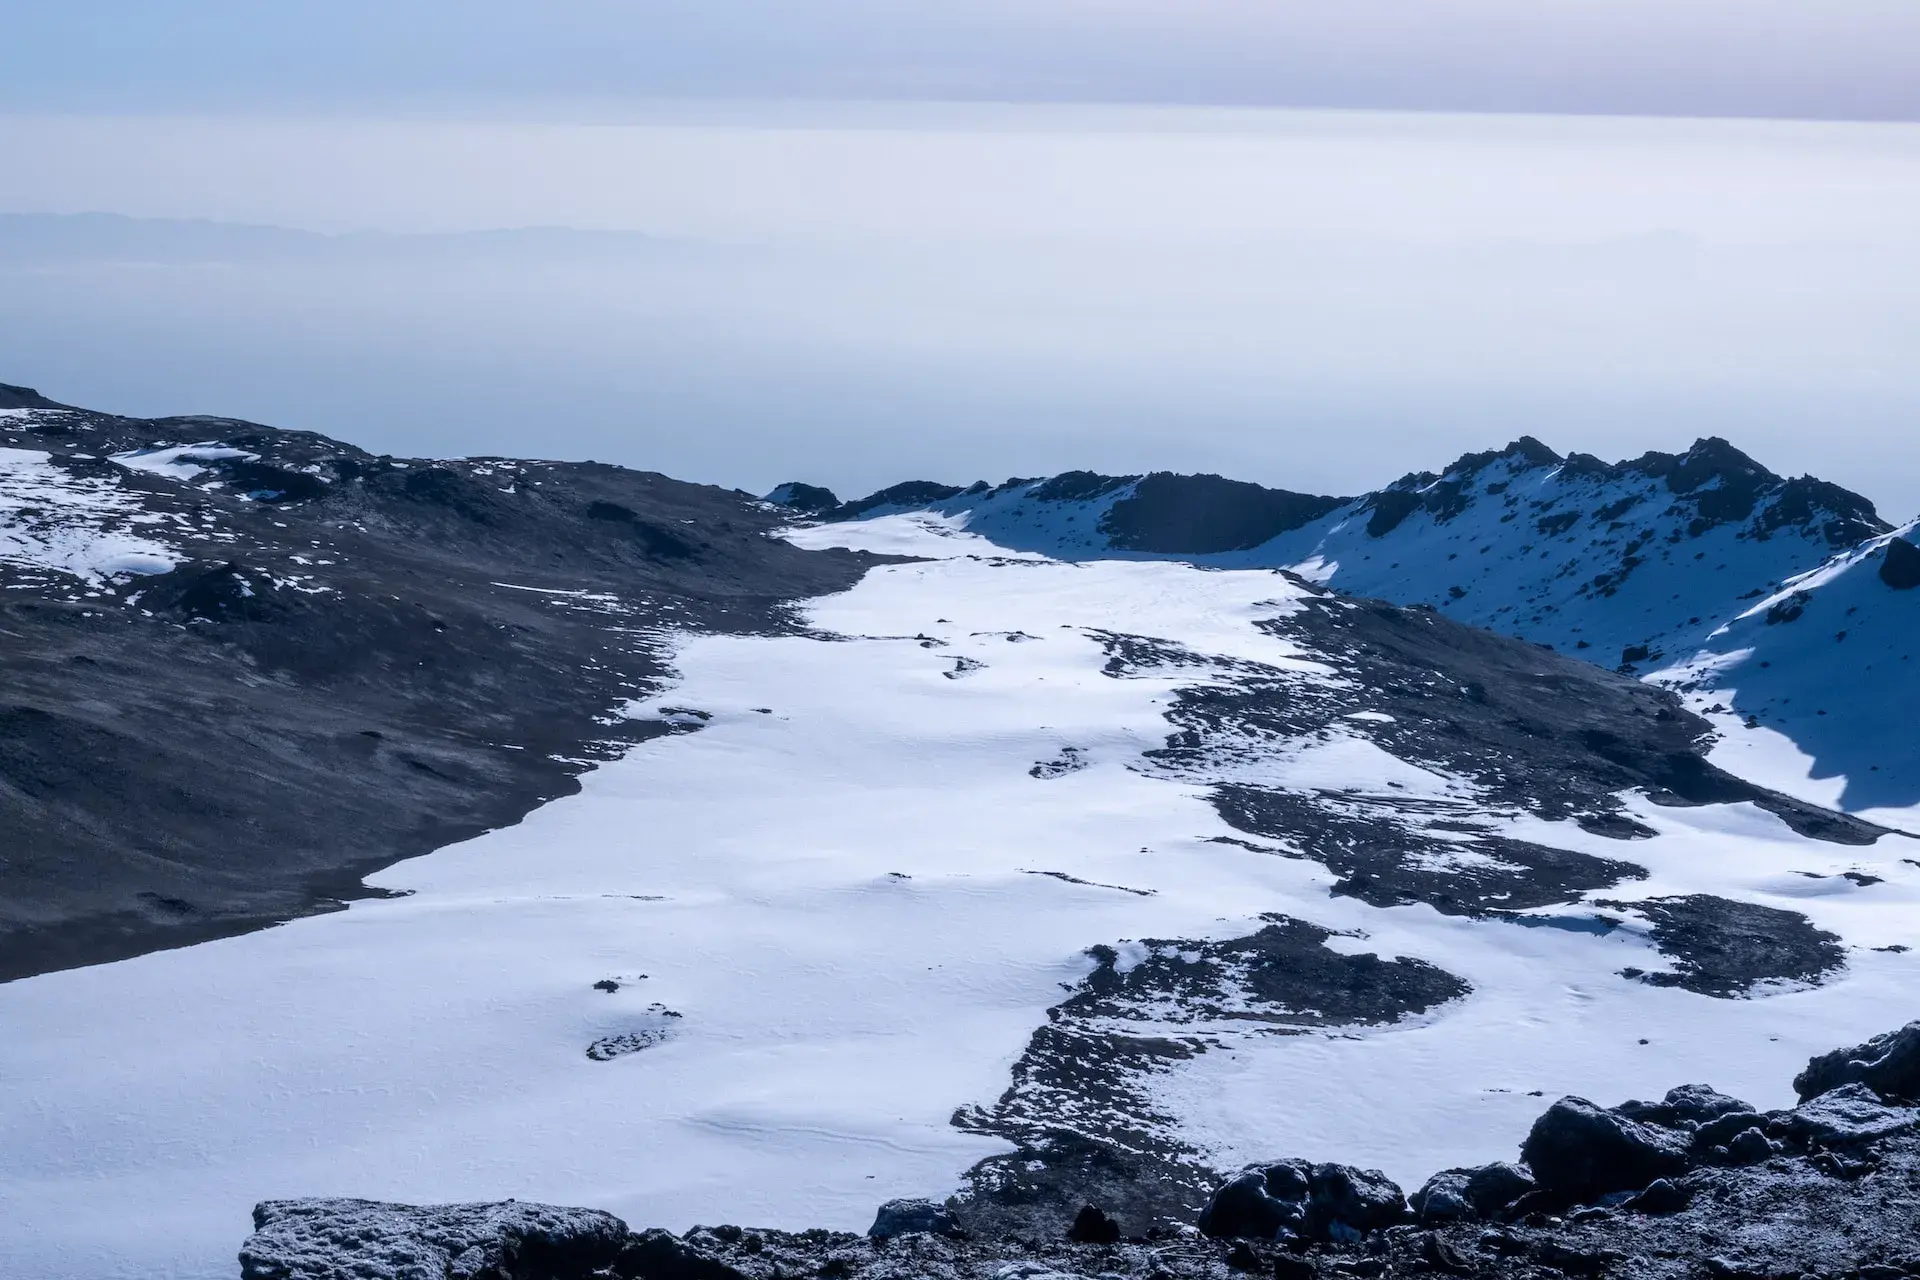
Day 3 is built around the next Kilimanjaro route stage, with a steady mountain rhythm that prioritizes safety, acclimatization, and enjoyment of the changing Kilimanjaro landscape. Your guide sets a deliberate pace, checks how everyone is adapting to altitude, and explains the vegetation zones, weather shifts, and trail conditions as they unfold. The route may move through rainforest, heath, moorland, alpine desert, or summit terrain, each offering different views, plant life, photography opportunities, and moments of quiet achievement. Porters and camp crew move ahead to prepare meals, drinking water, and the overnight area, allowing you to focus on walking well and conserving energy. Expect warm trail meals, regular hydration stops, and practical guidance on layering, breathing, and rest. By the end of the day, you arrive at camp or hut with a clear briefing for tomorrow and a stronger sense of the mountain's scale.
Day 4 is built around the next Kilimanjaro route stage, with a steady mountain rhythm that prioritizes safety, acclimatization, and enjoyment of the changing Kilimanjaro landscape. Your guide sets a deliberate pace, checks how everyone is adapting to altitude, and explains the vegetation zones, weather shifts, and trail conditions as they unfold. The route may move through rainforest, heath, moorland, alpine desert, or summit terrain, each offering different views, plant life, photography opportunities, and moments of quiet achievement. Porters and camp crew move ahead to prepare meals, drinking water, and the overnight area, allowing you to focus on walking well and conserving energy. Expect warm trail meals, regular hydration stops, and practical guidance on layering, breathing, and rest. By the end of the day, you arrive at camp or hut with a clear briefing for tomorrow and a stronger sense of the mountain's scale.
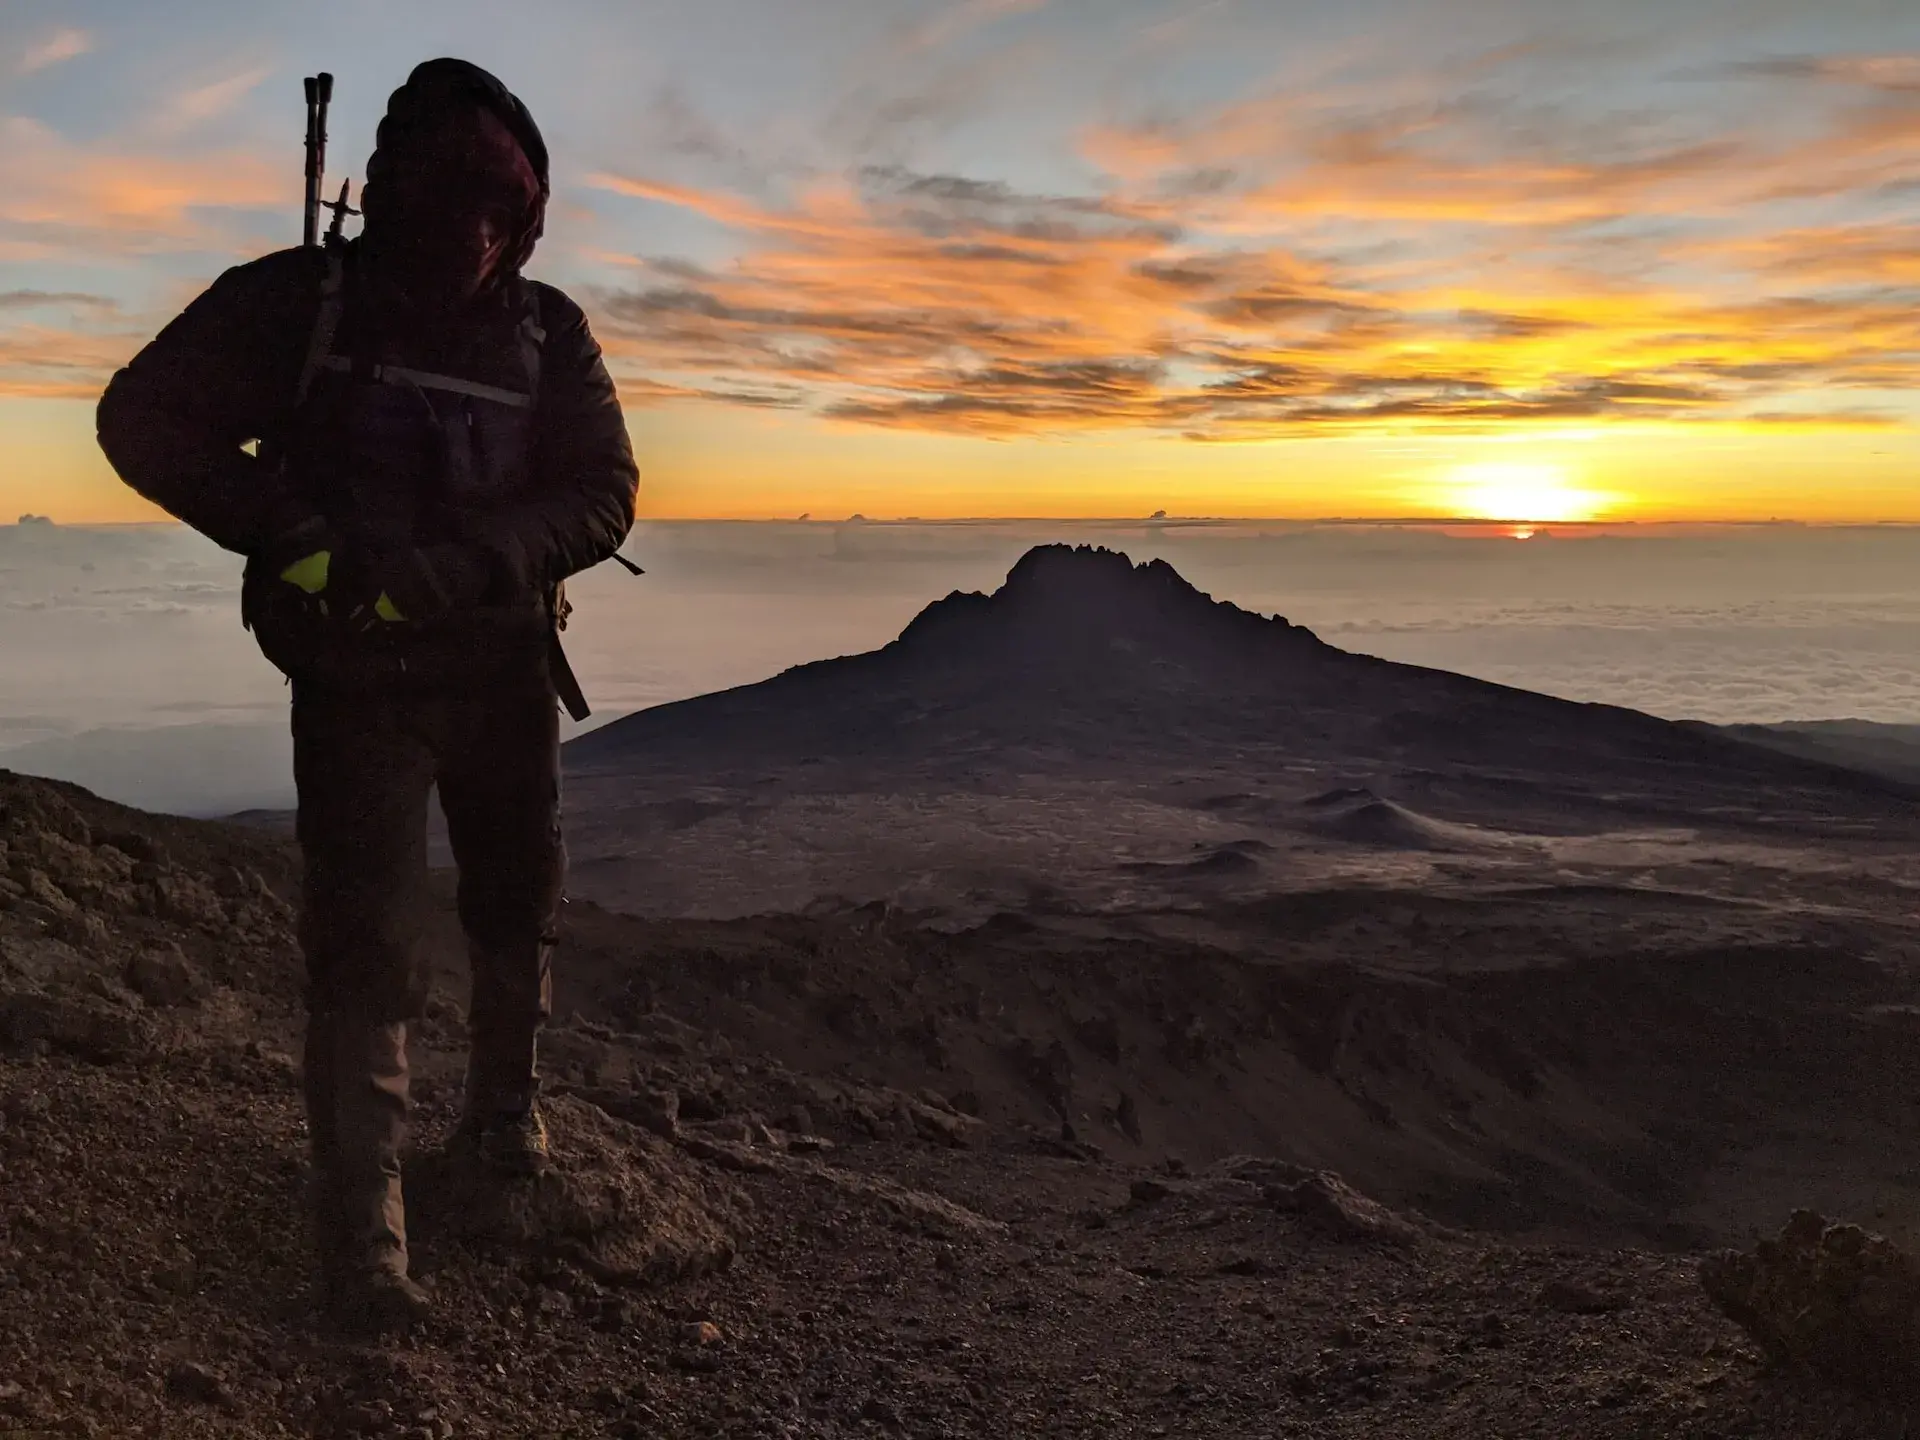
Day 5 is built around the next Kilimanjaro route stage, with a steady mountain rhythm that prioritizes safety, acclimatization, and enjoyment of the changing Kilimanjaro landscape. Your guide sets a deliberate pace, checks how everyone is adapting to altitude, and explains the vegetation zones, weather shifts, and trail conditions as they unfold. The route may move through rainforest, heath, moorland, alpine desert, or summit terrain, each offering different views, plant life, photography opportunities, and moments of quiet achievement. Porters and camp crew move ahead to prepare meals, drinking water, and the overnight area, allowing you to focus on walking well and conserving energy. Expect warm trail meals, regular hydration stops, and practical guidance on layering, breathing, and rest. By the end of the day, you arrive at camp or hut with a clear briefing for tomorrow and a stronger sense of the mountain's scale.
Day 6 is built around the next Kilimanjaro route stage, with a steady mountain rhythm that prioritizes safety, acclimatization, and enjoyment of the changing Kilimanjaro landscape. Your guide sets a deliberate pace, checks how everyone is adapting to altitude, and explains the vegetation zones, weather shifts, and trail conditions as they unfold. The route may move through rainforest, heath, moorland, alpine desert, or summit terrain, each offering different views, plant life, photography opportunities, and moments of quiet achievement. Porters and camp crew move ahead to prepare meals, drinking water, and the overnight area, allowing you to focus on walking well and conserving energy. Expect warm trail meals, regular hydration stops, and practical guidance on layering, breathing, and rest. By the end of the day, you arrive at camp or hut with a clear briefing for tomorrow and a stronger sense of the mountain's scale.
Day 7 is built around the next Kilimanjaro route stage, with a steady mountain rhythm that prioritizes safety, acclimatization, and enjoyment of the changing Kilimanjaro landscape. Your guide sets a deliberate pace, checks how everyone is adapting to altitude, and explains the vegetation zones, weather shifts, and trail conditions as they unfold. The route may move through rainforest, heath, moorland, alpine desert, or summit terrain, each offering different views, plant life, photography opportunities, and moments of quiet achievement. Porters and camp crew move ahead to prepare meals, drinking water, and the overnight area, allowing you to focus on walking well and conserving energy. Expect warm trail meals, regular hydration stops, and practical guidance on layering, breathing, and rest. By the end of the day, you arrive at camp or hut with a clear briefing for tomorrow and a stronger sense of the mountain's scale.
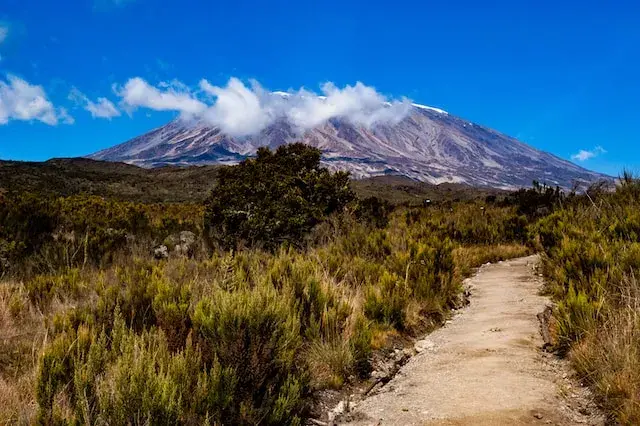
Day 8 is built around the next Kilimanjaro route stage, with a steady mountain rhythm that prioritizes safety, acclimatization, and enjoyment of the changing Kilimanjaro landscape. Your guide sets a deliberate pace, checks how everyone is adapting to altitude, and explains the vegetation zones, weather shifts, and trail conditions as they unfold. The route may move through rainforest, heath, moorland, alpine desert, or summit terrain, each offering different views, plant life, photography opportunities, and moments of quiet achievement. Porters and camp crew move ahead to prepare meals, drinking water, and the overnight area, allowing you to focus on walking well and conserving energy. Expect warm trail meals, regular hydration stops, and practical guidance on layering, breathing, and rest. By the end of the day, you arrive at camp or hut with a clear briefing for tomorrow and a stronger sense of the mountain's scale.
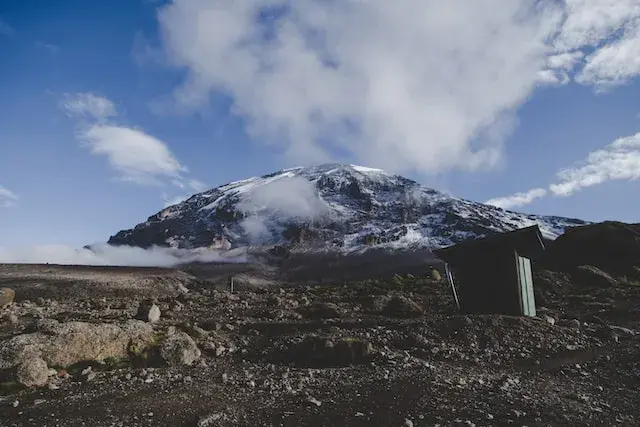
Day 9 is built around the next Kilimanjaro route stage, with a steady mountain rhythm that prioritizes safety, acclimatization, and enjoyment of the changing Kilimanjaro landscape. Your guide sets a deliberate pace, checks how everyone is adapting to altitude, and explains the vegetation zones, weather shifts, and trail conditions as they unfold. The route may move through rainforest, heath, moorland, alpine desert, or summit terrain, each offering different views, plant life, photography opportunities, and moments of quiet achievement. Porters and camp crew move ahead to prepare meals, drinking water, and the overnight area, allowing you to focus on walking well and conserving energy. Expect warm trail meals, regular hydration stops, and practical guidance on layering, breathing, and rest. By the end of the day, you arrive at camp or hut with a clear briefing for tomorrow and a stronger sense of the mountain's scale.
Day 10 is built around the next Kilimanjaro route stage, with a steady mountain rhythm that prioritizes safety, acclimatization, and enjoyment of the changing Kilimanjaro landscape. Your guide sets a deliberate pace, checks how everyone is adapting to altitude, and explains the vegetation zones, weather shifts, and trail conditions as they unfold. The route may move through rainforest, heath, moorland, alpine desert, or summit terrain, each offering different views, plant life, photography opportunities, and moments of quiet achievement. Porters and camp crew move ahead to prepare meals, drinking water, and the overnight area, allowing you to focus on walking well and conserving energy. Expect warm trail meals, regular hydration stops, and practical guidance on layering, breathing, and rest. By the end of the day, you arrive at camp or hut with a clear briefing for tomorrow and a stronger sense of the mountain's scale.
Day 11 is built around the next Kilimanjaro route stage, with a steady mountain rhythm that prioritizes safety, acclimatization, and enjoyment of the changing Kilimanjaro landscape. Your guide sets a deliberate pace, checks how everyone is adapting to altitude, and explains the vegetation zones, weather shifts, and trail conditions as they unfold. The route may move through rainforest, heath, moorland, alpine desert, or summit terrain, each offering different views, plant life, photography opportunities, and moments of quiet achievement. Porters and camp crew move ahead to prepare meals, drinking water, and the overnight area, allowing you to focus on walking well and conserving energy. Expect warm trail meals, regular hydration stops, and practical guidance on layering, breathing, and rest. By the end of the day, you arrive at camp or hut with a clear briefing for tomorrow and a stronger sense of the mountain's scale.
Day 12 is built around the next Kilimanjaro route stage, with a steady mountain rhythm that prioritizes safety, acclimatization, and enjoyment of the changing Kilimanjaro landscape. Your guide sets a deliberate pace, checks how everyone is adapting to altitude, and explains the vegetation zones, weather shifts, and trail conditions as they unfold. The route may move through rainforest, heath, moorland, alpine desert, or summit terrain, each offering different views, plant life, photography opportunities, and moments of quiet achievement. Porters and camp crew move ahead to prepare meals, drinking water, and the overnight area, allowing you to focus on walking well and conserving energy. Expect warm trail meals, regular hydration stops, and practical guidance on layering, breathing, and rest. By the end of the day, you arrive at camp or hut with a clear briefing for tomorrow and a stronger sense of the mountain's scale.
Day 13 is built around the next Kilimanjaro route stage, with a steady mountain rhythm that prioritizes safety, acclimatization, and enjoyment of the changing Kilimanjaro landscape. Your guide sets a deliberate pace, checks how everyone is adapting to altitude, and explains the vegetation zones, weather shifts, and trail conditions as they unfold. The route may move through rainforest, heath, moorland, alpine desert, or summit terrain, each offering different views, plant life, photography opportunities, and moments of quiet achievement. Porters and camp crew move ahead to prepare meals, drinking water, and the overnight area, allowing you to focus on walking well and conserving energy. Expect warm trail meals, regular hydration stops, and practical guidance on layering, breathing, and rest. By the end of the day, you arrive at camp or hut with a clear briefing for tomorrow and a stronger sense of the mountain's scale.
Day 14 is built around the next Kilimanjaro route stage, with a steady mountain rhythm that prioritizes safety, acclimatization, and enjoyment of the changing Kilimanjaro landscape. Your guide sets a deliberate pace, checks how everyone is adapting to altitude, and explains the vegetation zones, weather shifts, and trail conditions as they unfold. The route may move through rainforest, heath, moorland, alpine desert, or summit terrain, each offering different views, plant life, photography opportunities, and moments of quiet achievement. Porters and camp crew move ahead to prepare meals, drinking water, and the overnight area, allowing you to focus on walking well and conserving energy. Expect warm trail meals, regular hydration stops, and practical guidance on layering, breathing, and rest. By the end of the day, you arrive at camp or hut with a clear briefing for tomorrow and a stronger sense of the mountain's scale.
Day 15 is built around the next Kilimanjaro route stage, with a steady mountain rhythm that prioritizes safety, acclimatization, and enjoyment of the changing Kilimanjaro landscape. Your guide sets a deliberate pace, checks how everyone is adapting to altitude, and explains the vegetation zones, weather shifts, and trail conditions as they unfold. The route may move through rainforest, heath, moorland, alpine desert, or summit terrain, each offering different views, plant life, photography opportunities, and moments of quiet achievement. Porters and camp crew move ahead to prepare meals, drinking water, and the overnight area, allowing you to focus on walking well and conserving energy. Expect warm trail meals, regular hydration stops, and practical guidance on layering, breathing, and rest. By the end of the day, you arrive at camp or hut with a clear briefing for tomorrow and a stronger sense of the mountain's scale.
Day 16 is built around the next Kilimanjaro route stage, with a steady mountain rhythm that prioritizes safety, acclimatization, and enjoyment of the changing Kilimanjaro landscape. Your guide sets a deliberate pace, checks how everyone is adapting to altitude, and explains the vegetation zones, weather shifts, and trail conditions as they unfold. The route may move through rainforest, heath, moorland, alpine desert, or summit terrain, each offering different views, plant life, photography opportunities, and moments of quiet achievement. Porters and camp crew move ahead to prepare meals, drinking water, and the overnight area, allowing you to focus on walking well and conserving energy. Expect warm trail meals, regular hydration stops, and practical guidance on layering, breathing, and rest. By the end of the day, you arrive at camp or hut with a clear briefing for tomorrow and a stronger sense of the mountain's scale.
Day 17 is built around the next Kilimanjaro route stage, with a steady mountain rhythm that prioritizes safety, acclimatization, and enjoyment of the changing Kilimanjaro landscape. Your guide sets a deliberate pace, checks how everyone is adapting to altitude, and explains the vegetation zones, weather shifts, and trail conditions as they unfold. The route may move through rainforest, heath, moorland, alpine desert, or summit terrain, each offering different views, plant life, photography opportunities, and moments of quiet achievement. Porters and camp crew move ahead to prepare meals, drinking water, and the overnight area, allowing you to focus on walking well and conserving energy. Expect warm trail meals, regular hydration stops, and practical guidance on layering, breathing, and rest. By the end of the day, you arrive at camp or hut with a clear briefing for tomorrow and a stronger sense of the mountain's scale.
Everything You Need,
Nothing Hidden
Our pricing is fully transparent and all-inclusive. No surprise fees, no hidden add-ons. Below is exactly what you get — and what you'll need to bring yourself.
Included in Your Package
- ✓ Airport transfers (arrival and departure)
- ✓ Hotel accommodation in Moshi pre- and post-climb
- ✓ Kilimanjaro National Park fees & camping fees
- ✓ Registered local mountain guide (English-speaking)
- ✓ Assistant guides — 1 per 3 climbers
- ✓ Licensed porters carrying your duffel (max 15 kg)
- ✓ Professional mountain cook & all meals on the mountain
- ✓ High-quality tents, dining tent & private toilet tent
- ✓ Rescue fee registration (KINAPA)
- ✓ All government taxes and levies
- ✓ Pre-climb briefing, debriefing & KINAPA summit certificate
- ✓ Daily health monitoring with pulse oximetry
Not Included
- ✗ International flights to/from Tanzania
- ✗ Tanzania visa fees (approx. $50 USD on arrival)
- ✗ Travel & medical insurance (required — we can recommend)
- ✗ Personal trekking gear (clothing, boots, trekking poles)
- ✗ Sleeping bag rated to -10°C (rental available from us)
- ✗ Crew gratuities (guides, porters, cook — strongly customary)
- ✗ Personal items, snacks & supplements (e.g. Diamox)
- ✗ Helicopter evacuation (covered by travel insurance)
What to Bring to the
Roof of Africa
Kilimanjaro crosses five climate zones — you'll dress for a tropical jungle one day and sub-zero arctic conditions the next. Our guides review your gear before departure from Moshi.
Layering System
Moisture-wicking base layer, warm mid-layer fleece, and a waterproof, windproof outer shell. Summit night demands your warmest down jacket — nothing below 600-fill.
Waterproof Boots
Well broken-in, ankle-supporting waterproof trekking boots are essential. Bring sandals for camp. Gaiters are strongly recommended for the rocky ascents and scree descents.
Gloves & Head Gear
Liner gloves, insulated gloves, and a warm balaclava or beanie for summit night. A sun hat and UV-protection sunglasses are equally critical for daytime trekking.
Daypack & Sleeping Bag
A 35–40L daypack for the trail (porters carry your main duffel). A sleeping bag rated to at least -10°C is essential — rental available in Moshi if you don't own one.
Headlamp
Absolutely essential for the midnight summit push. Bring extra batteries — cold air drains them far faster than at sea level. A backup lamp is a smart precaution.
Altitude & First Aid
Consult your doctor about Diamox (acetazolamide) for altitude sickness prevention. Bring a personal first-aid kit with blister care, ibuprofen, and rehydration salts.
Hydration System
Two 1-litre water bottles or a hydration bladder. Target 4–5 litres per day starting Day 1, not just summit day. A thermos for hot drinks on summit night is invaluable.
Trekking Poles
Strongly recommended, especially for the long descents. Reduces knee strain significantly on the 3,000m drop from Uhuru to Mweka Gate. Available for rental in Moshi.
Insider Tips from Our
Veteran Guides
After 8,000+ expeditions over 20 years, our team knows exactly what separates a successful summit from a turned-back attempt. These are the things we tell every climber before they step onto the mountain.
"Pole Pole" — Go Slowly
The Swahili mantra of Kilimanjaro. The single biggest reason climbers fail is going too fast, not too slow. Our guides will keep your pace measured and deliberate. Resist the urge to rush. The mountain rewards patience — and so do we.
Drink More Than You Think
Altitude depletes your body of moisture rapidly. Aim for 4–5 litres of water daily starting on Day 1 — not just summit day. Most altitude headaches are dehydration in disguise. Add electrolytes whenever possible.
Eat Even When You Don't Want To
Altitude suppresses appetite at the worst possible time. Your body is burning enormous calories. Force yourself to eat at every meal, even when nothing sounds appealing. Our cooks prepare nutritious food — eat all of it.
Train Before You Arrive
Begin cardio training 3 months before. Long hikes with a loaded pack, stair climbing, and sustained aerobic work prepare your body. The fitter you arrive, the more reserve you have when altitude drains your strength.
Mental Strength Matters Most
Summit night is as much a mental challenge as a physical one. Most failed summits are mental, not physical. Know your "why" before you come. At 4am when every step feels impossible, our guides have seen it all — and they will carry you through.
Choose the Right Season
The two best windows are January–March (dry, cold, fewer crowds) and June–October (dry, peak visibility). Avoid April–May and November during heavy rains. Our team can advise on the ideal month for your travel schedule.
Route Price on Request
Final trekking cost depends on route duration, park fees, crew size, accommodation before and after the climb, and private-group arrangements.